

Omron Wrist Blood Pressure Monitor
Need help with your Omron Wrist Blood Pressure Monitor? Find everything you need to know from set up to measurement best practices and troubleshooting. We’ve got you covered.
Jump To SectionTop Tips for Successful Measurement
BPM Power
Do not turn off the monitor after measurement is displayed. After the device has transmitted your measurement to the Tenovi Gateway, the device will turn off on it’s own. If you would like to take another measurement, wait for the screen to turn off, then click the Start/Stop button.
Setup Before Use
The Omron Wrist BPM must be paired to the Tenovi Gateway before measurements can be sent to your Care Provider. See Device Specifics.
Ensure Proper Usage
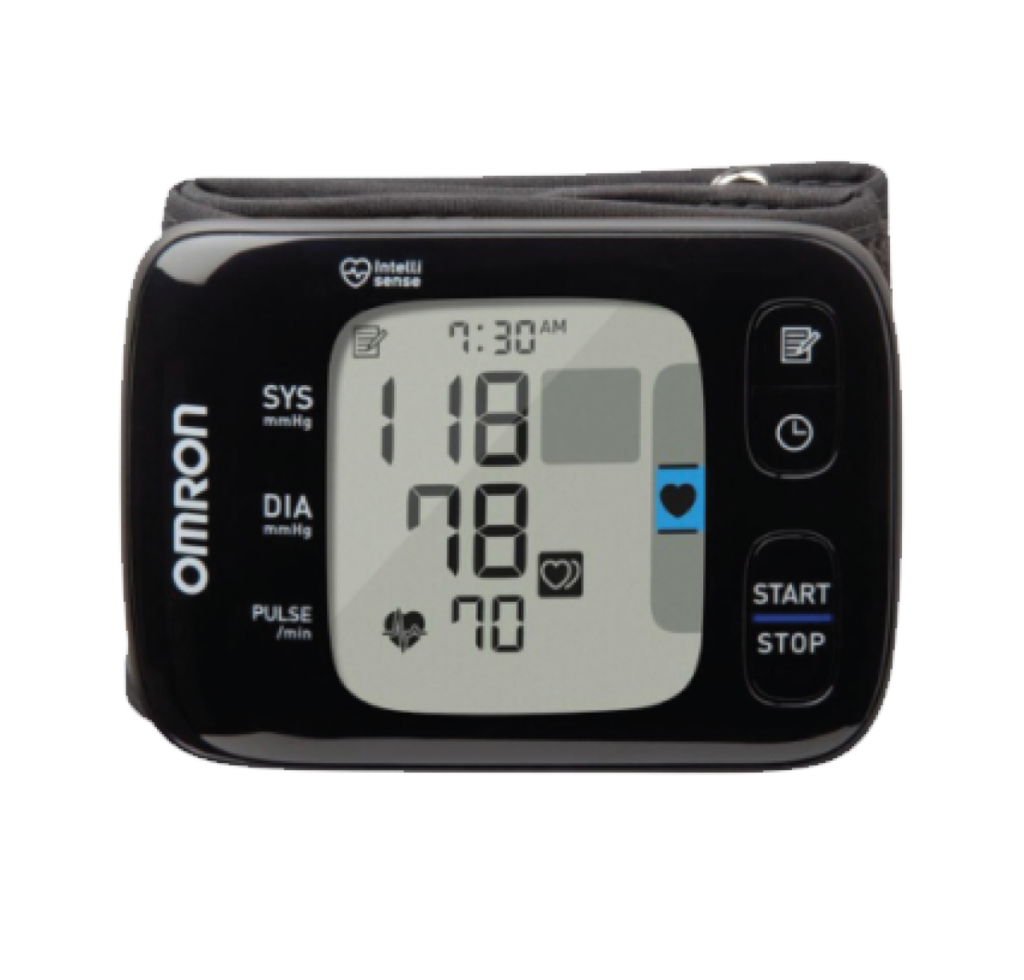
- Make sure the cuff is wrapped securely around your wrist.
- The device and your palm should both face upwards.
- Keep the device at heart level when taking your measurement.
Setup & Use Steps
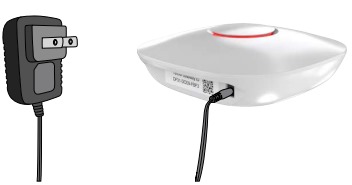
Power Gateway
Step 1: Set up your Gateway by plugging it in. It will flash purple as it connects and then settle to a solid red color when it is connected.
Insert Batteries
Step 2: Insert batteries into the back of the blood pressure monitor.

Pairing Your Device
Step 3: Press and hold the Bluetooth button on the back of the device. The letter “P” will appear blinking. When the Gateway beeps and 4 squares are shown, your device has been successfully paired. This only needs to be done one time.

Proper Set Up
Step 4: Tie the cuff on your bare wrist, with the monitor and your palm facing upwards. Leave 1/2 an inch between the cuff and your palm.

Body Position
Step 5: Sit comfortably with your tested elbow resting on a flat surface and wrist at the same level as your heart. Relax your arm and hand with your palm facing upwards.

Take A Measurement
Step 6: Press the “Start/Stop” button to take a measurement. Wait for the measurement to display before removing the cuff. When the LED ring turns Green, you have properly taken a measurement.

When Taking a Measurement
Before You Measure
Blood pressure naturally goes up and down throughout the day. Changes of up to 20 mmHg are completely normal. Things like stress, caffeine, movement, talking, and even a full bladder can cause a higher reading. That’s why it’s important to follow a few simple steps to get the most accurate results.
- Tie the cuff to your wrist keeping 1/2 inch between the cuff and your palm.
- Put the cuff on bare skin, with the monitor screen and your palm facing upwards.
- Sit upright in a chair with your back supported.
- Keep your feet flat and legs uncrossed.
- Rest your elbow on a flat surface, keeping your wrist at heart level.
- Stay silent and still. Avoid distractions and moving around.
Taking Your Blood Pressure
- Measure at the same time each day if tracking over time.
- Take two readings, one minute apart, and record both.
- Average the two readings if they are different.
- Share your readings with our health care provider.
If one reading seems unusually high or low, wait a few minutes, relax, and try again. Blood pressure should be assessed based on patterns and averages over time, not a single measurement. If you believe your measurement is high, immediately contact your healthcare provider.
Error Codes
E 1
1. The wrist cuff is not applied correctly OR 2. Air is leaking from the wrist cuff.
1. Apply the wrist cuff correctly, then take another measurement.
2. Contact Omron Customer Service.
E 3
The wrist cuff is overinflated exceeding 300 mmHg.
Do not touch the wrist cuff while taking a measurement.
E 4
You move or talk during a measurement. Vibrations disrupt a measurement.
Remain still and do not talk during a measurement.
E 5
The pulse rate is not detected correctly.
Apply the wrist cuff correctly, then take another measurement. Remain still and sit correctly during a measurement. If the Irregular Heartbeat symbol continues to appear, we recommend you to consult with your Care Provider.
E 7
Your wrist is moved up and down during a measurement.
Do not move your wrist, then take another measurement.
Er
The monitor is malfunctioned.
Press the START/STOP button again. If “Er” still appears, contact Omron Customer Service.
E rr
The monitor cannot connect to a smart device or transmit data correctly.
Make sure the BPM is paired correctly then retake measurement. If the “Err” symbol still appears contact Omron Customer Service.
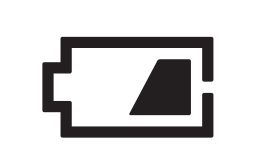
If a battery symbol is displayed this means the meter has low battery voltage. Please replace batteries as soon as possible. Replacement batteries can be order through the Tenovi Web App.
Device Specifics
Pairing and Bonding
Before this device can bond and send measurements to the Tenovi Gateway, the BPM must be paired.
- Press and hold the Bluetooth button on the back of
the device. The letter “P” will appear blinking. When
the Gateway beeps and 4 squares are shown, your
device has been successfully paired. This only needs
to be done one time.

Storage Events
- Omron Wrist BPM will store up to 90 readings. You are able to cycle through previous measurements on the device itself.


