

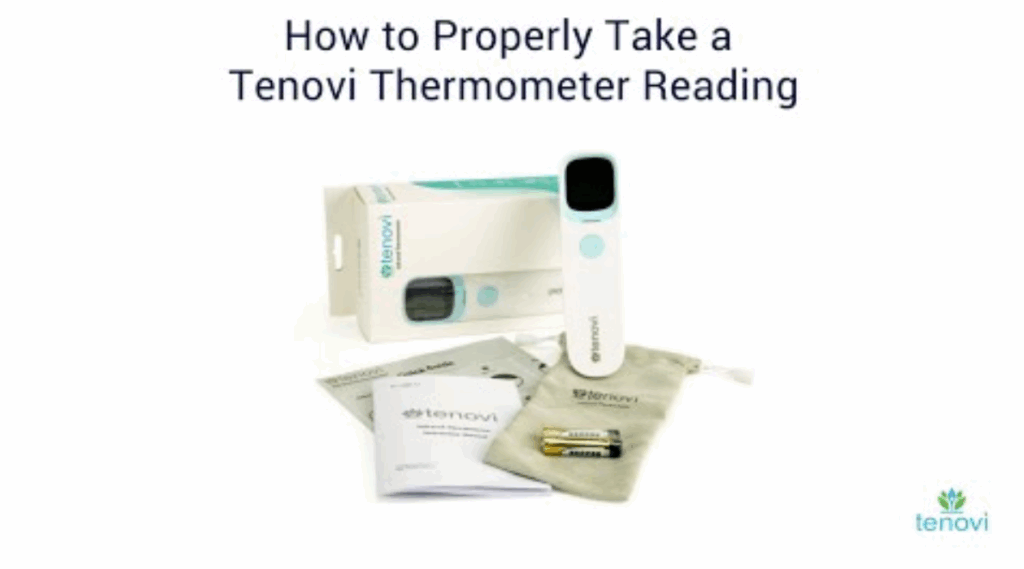
Tenovi Infrared Thermometer
Need help with your Tenovi Infrared Thermometer? Find everything you need to know from set up to measurement best practices and troubleshooting. We’ve got you covered.
Jump To SectionHow It Works
Top Tips for Successful Measurement
Successful Data Transmission
Click the button once to turn on the thermometer and connect to the Tenovi Gateway, wait for the Tenovi Gateway LED to spin yellow, then click the button a second time to take a reading.
Ensure Proper Usage
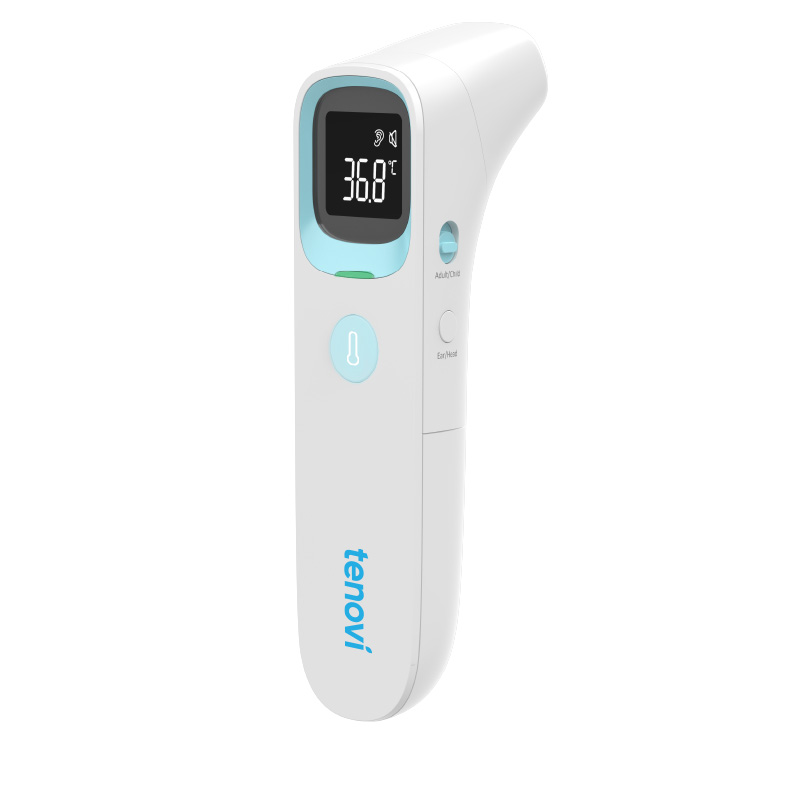
Toggle the button on the right side of the device for the correct measurement type: Forehead, In-Ear, or Object. Set the switch on the left side of the device to Adult or Child.
Forehead measurements: The screen will display an outline of a head. Make sure the probe is placed directly on the forehead.
In-Ear measurements: The screen will display an outline of a ear. Please remove the probe cover before taking in-ear measurements.
Object measurements: The screen will display an outline of a house.
Temperature Unit Switch
This device can record measurements in either Celsius or Fahrenheit. Remove the battery cover on the back of the device and locate the switch in between the battery compartments to change the temperature units.

Setup & Use Steps
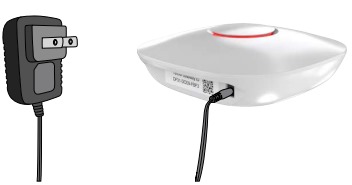
Power Gateway
Step 1: Set up your Gateway by plugging it in. It will flash purple as it connects and then settle to a solid red color when it is connected.
Install Batteries and Setup
Step 2. Install batteries into the back of the thermometer.
Press the button on the front to turn the device on.

Take A Measurement
Step 3. Wait for the thermometer indicator light to turn off. Point the thermometer at the center of the forehead. Press the button to take a reading.
To take in-ear measurements, consult your care provider.

When Taking a Measurement
Before You Measure
Ensure the thermometer is set to the proper settings:
- Switch is set to Adult or Child.
- The correct mode icon is displayed for the type of measurement that will be taken.
Forehead = Head icon, In-Ear = Ear icon, Object = House icon
Taking Your Temperature
- Click the button on the thermometer once to connect to your Tenovi Gateway, then click the button a second time when the indicator light on the thermometer turns off to take your temperature.
- The Gateway will beep and turn green and your reading will be transmitted.
- While the thermometer screen is still on, wait for the green indicator light on the thermometer to turn off again to take additional readings and they will be transmitted as well.
Cleaning
- Clean forehead before use.
- Clean the thermometer after use.
- Wait 5-10 minutes after cleaning the device to use it.
Error Codes
Er1
The ambient temperature is higher than 40.0°C (104.0°F) or lower than 10.0 °C (50.0°F). The device will play a long beep with a red indicator light.
Wait 5-10 minutes then take another measurement. If the problem persist, contact Tenovi Customer Support.
ErC
An error occurs when data is being read from or written to the memory, or the temperature correction is not complete. The device will play a long beep with a red indicator light.
Take another measurement. If the problem persist, contact Tenovi Customer Support.

If the low battery symbol is displayed, please replace the batteries as soon as possible. Replacement batteries can be order through the Tenovi Web App.
Device Specifics
Pairing and Bonding
The Tenovi Infrared Thermometer will connect automatically out of the box during the measurement.
- Click the button on the thermometer once to turn on the thermometer and connect to the Tenovi Gateway.
- When the indicator light on the thermometer turns off, the Gateway LED will spin yellow indicating the Gateway is connected and ready to receive data.
Storage Events
The Tenovi Infrared Thermometer can store up to 20 measurements on the device, however these readings will not be offloaded to the Gateway. This means if you take readings away from the Gateway, those readings will not be sent to the Gateway upon the next successful connection cycle. If you take more than 20 readings, the first measurement you took will be erased as you take new measurements. You are able to cycle through previous measurements on the device itself. When the batteries are removed, the memory on the device is erased.
Maintenance
- Take the batteries out before cleaning.
- Clean the temperature probe with a soft cloth. Clean the lens of the temperature probe with a cotton swab.
- Wipe the thermometer body with a slightly damp soft cloth.
- Keep water out of the lens during the cleaning process. Otherwise, the lens may be damaged.
Device Reissue
If this is a replacement device please visit the Tenovi Web App for further assistance.
The Tenovi Infrared Thermometer is compatible with Gateway firmware 2.101.14 and later. Using a Gateway with an earlier firmware version may cause connectivity problems.


