

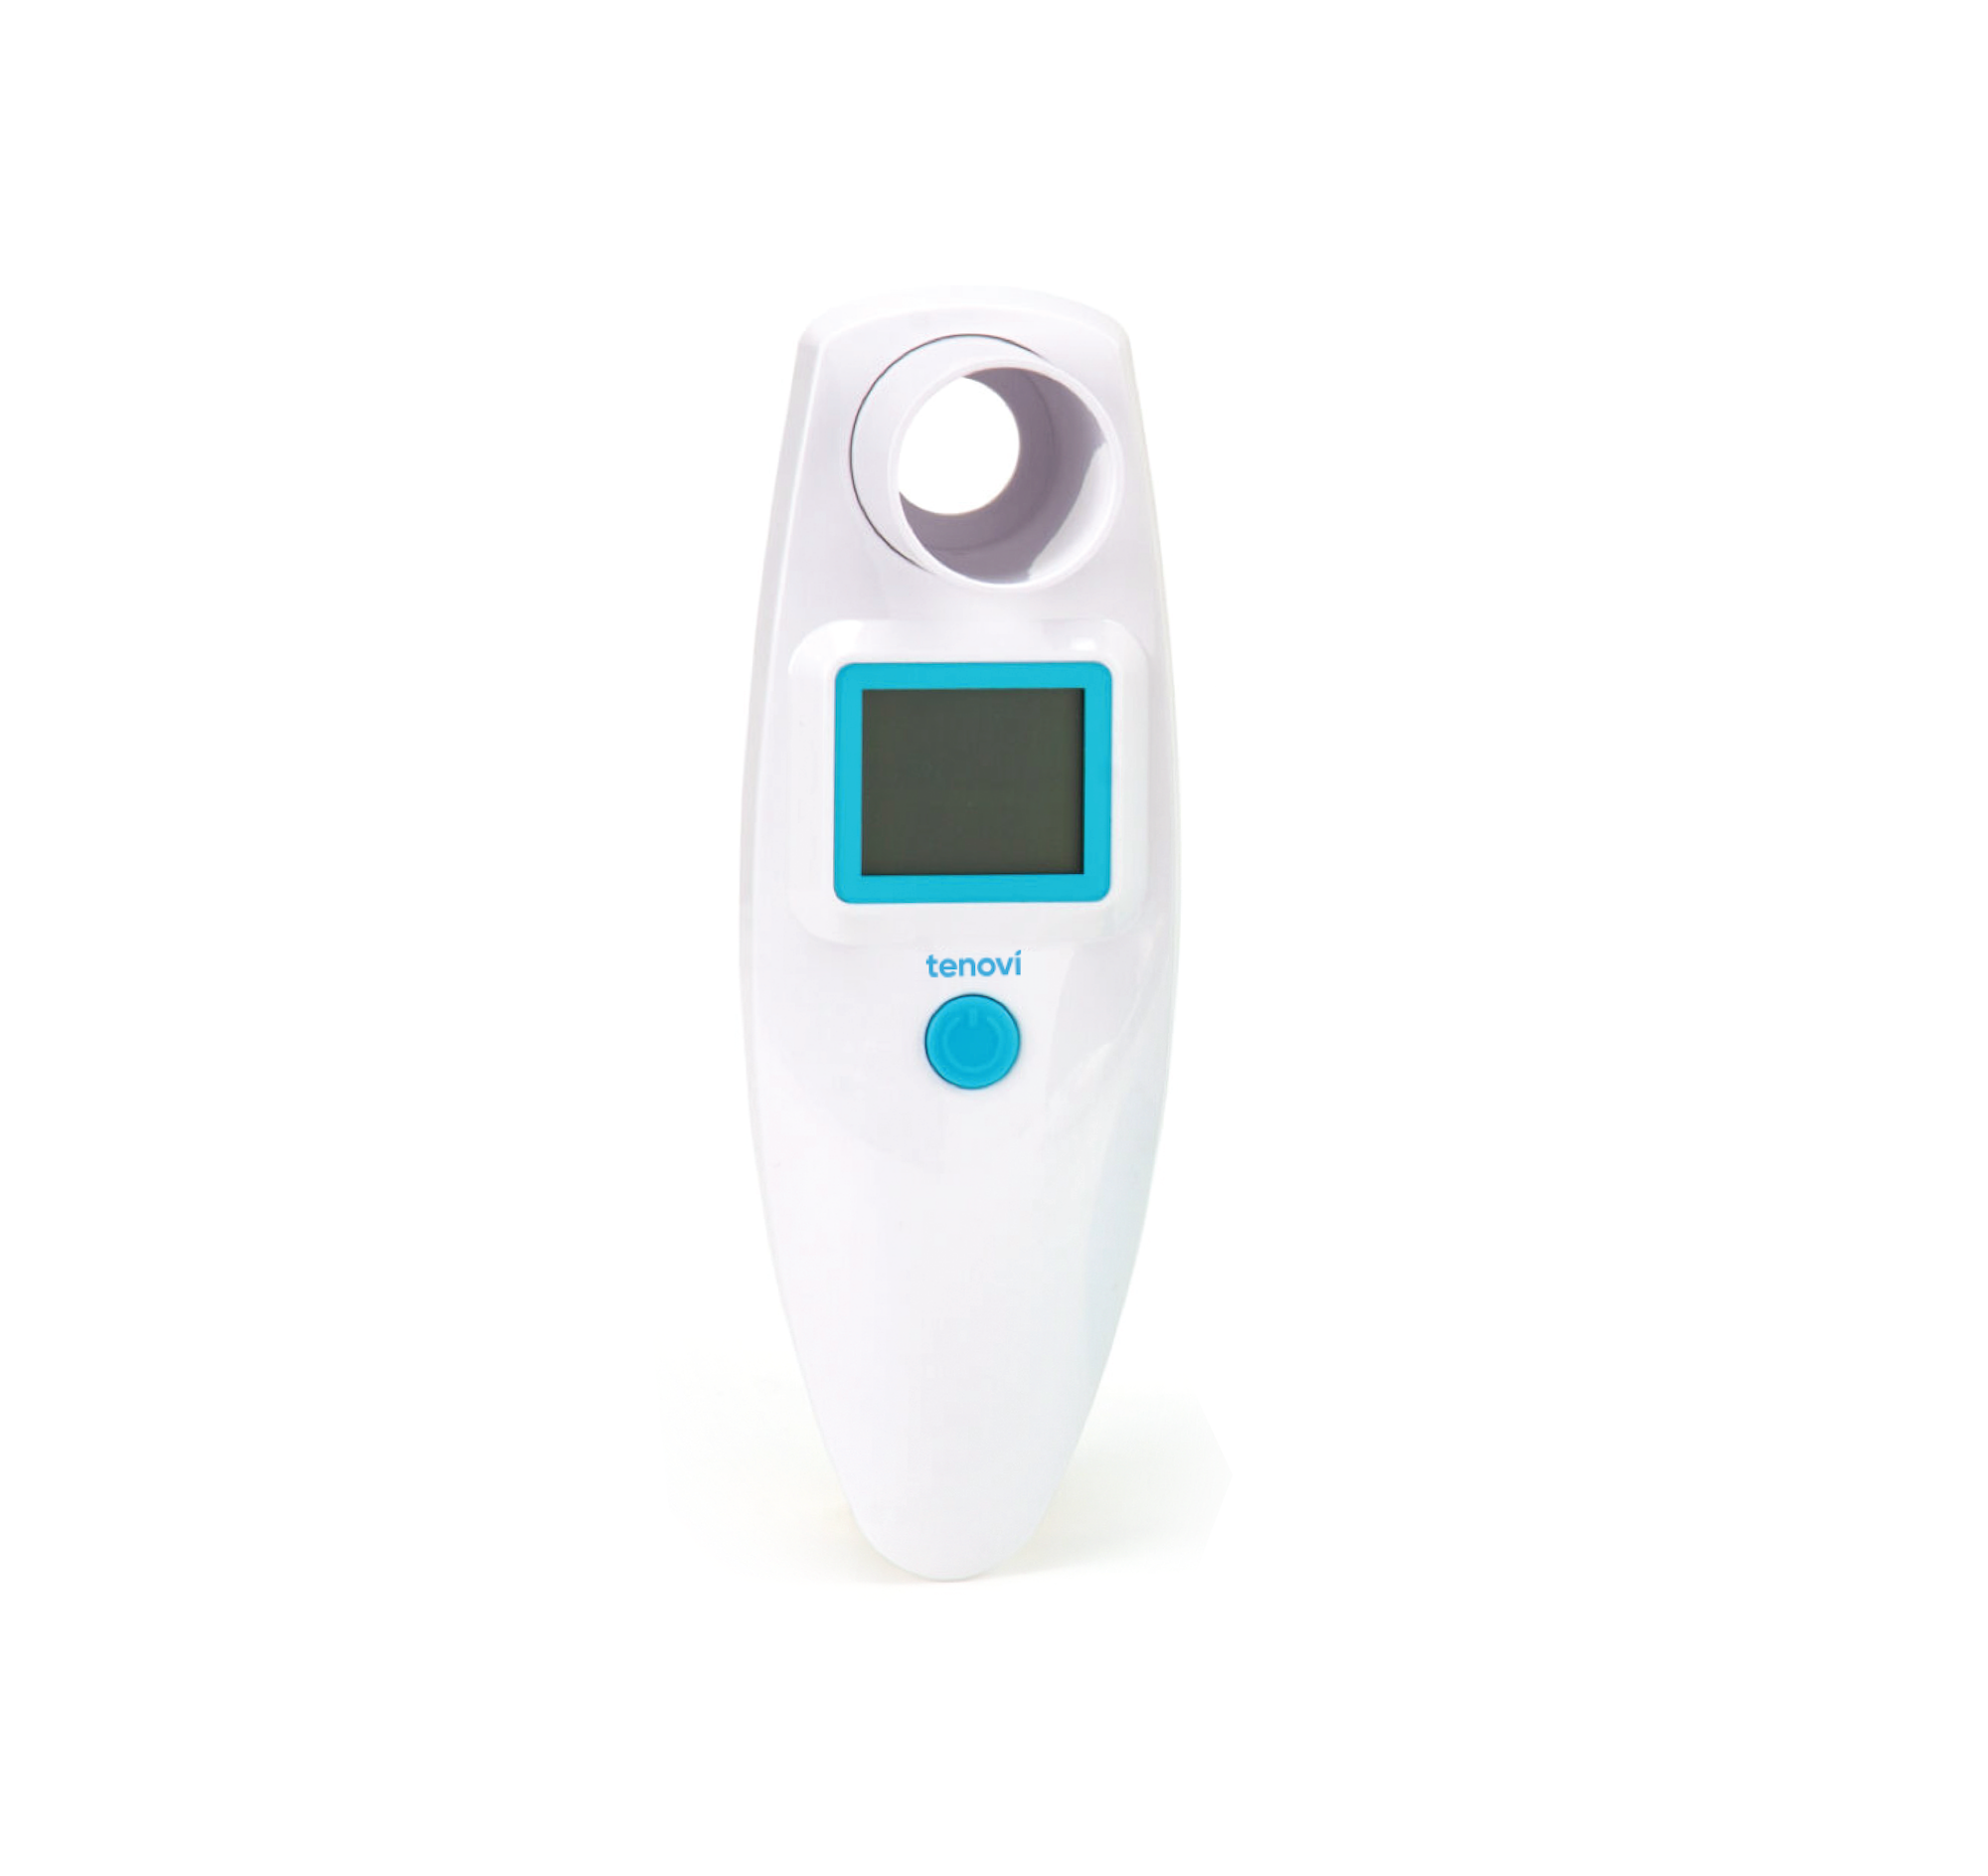
Tenovi Peak Flow Meter
Need help with your Tenovi Peak Flow Meter? Find everything you need to know from set up to measurement best practices and troubleshooting. We’ve got you covered.
Jump To SectionHow It Works

Top Tips for Successful Measurement
Successful Data Transmission
Click and hold the power button to turn on the Tenovi Peak Flow Meter and connect to the Tenovi Gateway. Wait for the Tenovi Gateway LED to spin yellow, then proceed to take your measurement. To take additional measurements while the device is still on, click the power button and when the screen says “go”, blow into the mouthpiece. The Gateway LED will not spin yellow for back to back measurements.
Ensure Proper Usage
- Remove any food or gum from your mouth before using the Tenovi Peak Flow Meter.
- Cover the mouthpiece fully with your mouth, ensuring there are no air leaks.
- Blow strongly and firmly into the mouthpiece.
Setup & Use Steps
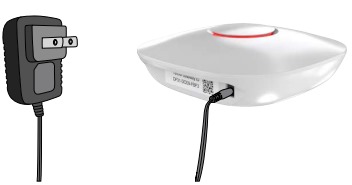
Power Gateway
Step 1: Set up your Gateway by plugging it in. It will flash purple as it connects and then settle to a solid red color when it is connected.
Install Batteries
Step 2. Install batteries into the back of the Tenovi Peak Flow Meter.

Connect to Gateway
Step 3. Stand within 20 feet of the Tenovi Gateway, press the power button for 3 seconds and wait for the Tenovi Gateway to start flashing yellow.

Take A Measurement
Step 3. Take a deep breath and then exhale quickly into the Tenovi Peak Flow Meter. Make sure your mouth is fully covering the mouthpiece.

Displaying Measurement
Step 3. Your measurement will be displayed on the Peak Flow Meter screen and the Gateway LED should turn green. Press the power button and start at Step 3 if you need to take another reading.

When Taking a Measurement
Before You Measure
- Remove any food or gum from your mouth.
- Stand up or sit up straight. Do not slouch. Your lungs must be fully expanded to get the best reading.
- Remove any tight clothing, belts or neckties that might restrict your chest or abdominal movement.
Using Your Peak Flow Meter
- Inhale deeply, filling your lungs with air.
- Keep your chin slightly lifted and neck extended to straighten your airway.
- Put the mouthpiece fully into your mouth and seal your lips tightly around it. Do not let any air leak out the sides.
Error Codes
E1
Wrong posture causing inconsistent airflow
Stand straight up or sit straight up in a chair and retake your measurement.
H1
The result is higher than 840L/min
Extremely high measurement.
If the device does not turn on after holding the power button for at least 5 seconds:
- Check the batteries are installed correctly. If problem persist, replace with new batteries.
If no result is shown after blowing:
- Make sure the device is on, then click the power button and blow again.
This device will play a long beep and turn off after 1 minute of no activity.
Device Specifics
Pairing and Bonding
The Tenovi Peak Flow Meter will connect automatically out of the box during the measurement.
- Click and hold the power button on the meter to turn it on.
- The Gateway LED will spin yellow indicating the Gateway is connected to the meter and ready to receive data.
Storage Events
- The Tenovi Peak Flow Meter does not store measurements. This means if you take readings away from the Gateway, those readings will not be sent to the Gateway upon the next successful connection cycle.
Maintenance
- Main unit: Wipe with a soft dry cloth. Do not put it in water. Cleaning once a week is recommended.
- Mouthpiece: Use medical alcohol to clean. Then wipe clean with a clean soft cloth. To ensure the safety and hygiene during use, it must be cleaned after each use.
Device Reissue
If this is a replacement device please visit the Tenovi Web App for further assistance.
The Tenovi Peak Flow Meter is compatible with Gateway firmware 1.90.11 and later. Using a Gateway with an earlier firmware version may cause connectivity problems.


Downloads
Sources
- Schutte, A.E., Cuschieri, S., Mels, C.M.C., & Kruger, R. (2022). Blood pressure and its variability: Classic and novel measurement techniques.
Journal of Human Hypertension. - Musini, V.M., Gueyffier, F., Puil, L., Salzwedel, D.M., & Wright, J.M. (2009). Factors affecting blood pressure variability: Lessons learned from two systematic reviews of randomized controlled trials.
Current Hypertension Reports. - Centers for Disease Control and Prevention. (2023). Measuring your blood pressure.
CDC High Blood Pressure. - American Heart Association. (2023). Monitoring your blood pressure at home.
American Heart Association. - Kallioinen, N., Hill, A., Horswill, M.S., Ward, H.E., & Watson, M.O. (2017). Sources of inaccuracy in the measurement of adult patients’ resting blood pressure in clinical settings: A systematic review.
Journal of Hypertension.