

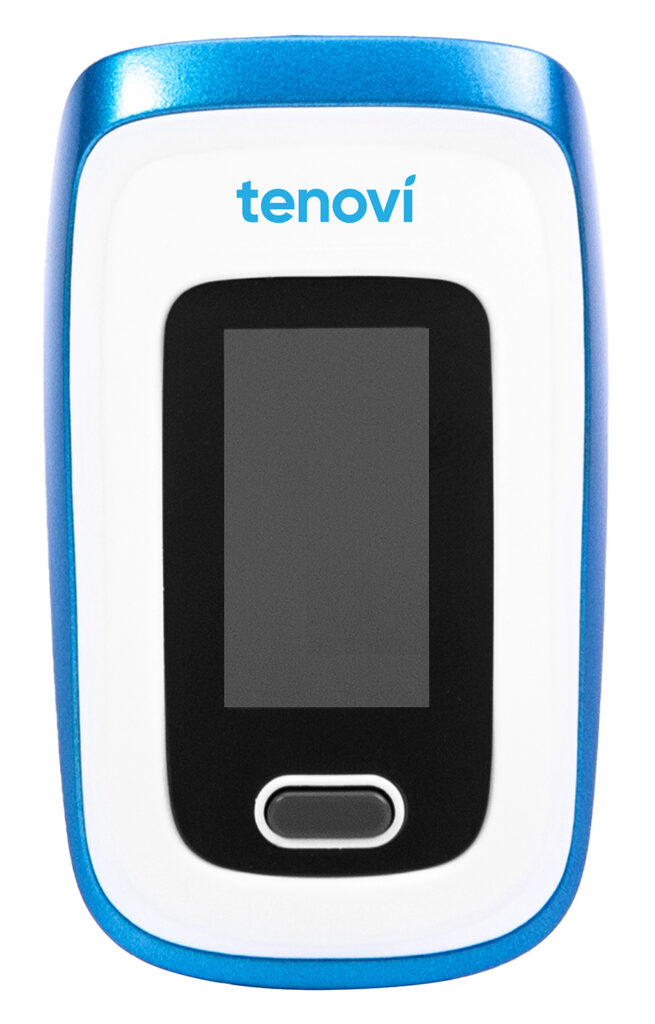
Tenovi Pulse Oximeter
Need help with your device? Find everything you need to know, from set up to measurement best practices and troubleshooting. We’ve got you covered.
Jump To SectionHow It Works

Setup & Use Steps
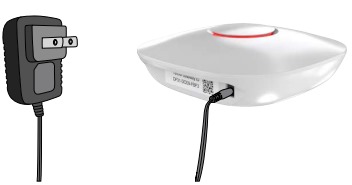
Power Your Gateway
Plug your Gateway into a power outlet with the provided power cord and wait until LED on the Gateway turns red. RED.
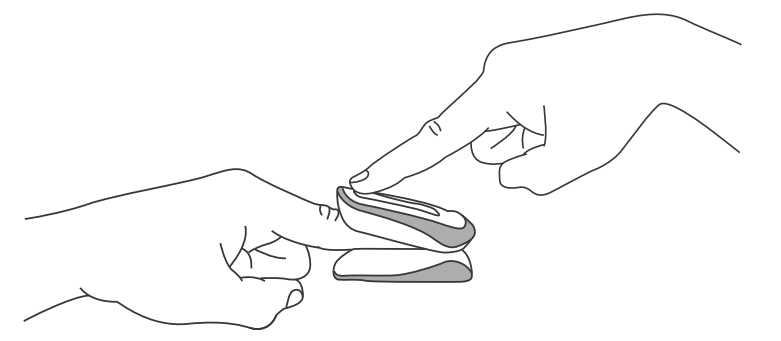
Remove Full Tab
Remove Full Tab from the battery compartment to power on the device

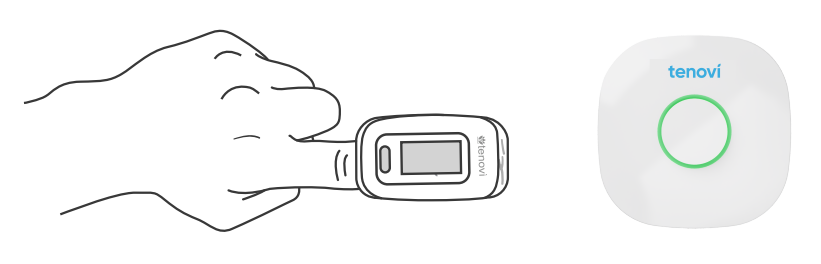
Insert Finger Into Pulse Ox
Insert one finger completely into the measurement section of the oximeter with your fingernail pointing up toward the screen.

Press Power On Pulse Ox
Stand within 20 feet of the Tenovi Gateway and press the power button on the oximeter.
Wait 20 seconds
Keep your finger in the oximeter for 20 seconds or until you hear a beep from the Tenovi Gateway. Then, remove your finger and wait for Tenovi Gateway turn into GREEN.
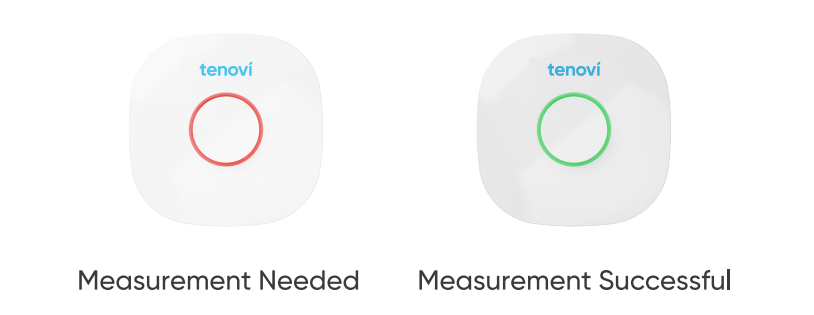
Daily Measurements
Take one measurement each day unless advised otherwise by your healthcare provider. The LED will turn RED each morning and turn GREEN once a measurement has been successfully transmitted.
When Taking a Measurement
Before You Measure
- This pulse oximeter is not intended for continuous monitoring.
- The device should be placed on the finger with the power off and then powered once in the proper position.
- Leave the device on and running for 15-30 seconds. This is long enough to get a stable, consistent reading.
- Remove device from finger and it will power down automatically and send the measurements to the Gateway.
Taking Your Measurement
- Must remove finger from pulse ox for the Gateway to turn green and transmit the measurement.
- If a second measurement is taken before the device has turned off, the pulse ox will record the measurement in its storage but may fail to send it to the Gateway. However, that second reading will be sent to the Gateway on the next connection cycle. We recommend waiting for the pulse ox to turn off before taking a second measurement
- To avoid affecting its performance DO NOT place the oximeter in direct sunlight, high temperature, humidity, dust, cotton wool or near water. If the oximeter gets wet, please stop using it.
- When the oximeter is carried from cold environment to warm or humid environment, please wait 4 hours before using.
Best Practices
Positioning & Accuracy
- It is good practice to position the hand and arm horizontal with the ground.
- Be sure to insert finger fully into the device. The finger tip should be pressed in to the end of the clip, with the silver dot and red light centered on the fingertip.
- Long fingernails can interfere with proper finger placement.
- Measurement accuracy may be influenced by fingers that are too cold, too thin, or if fingernails are too long. You can use a larger finger such as your thumb or middle finger.
Error Codes
- This device does not display error codes.
Device Specifics
Pairing and Bonding
- There is no bonding or pairing process needed for this device. The Tenovi Pulse Oximeter will connect automatically out of the box during the measurement.
Storage Events
- This device does not store measurements.
Maintenance
- Remove the batteries from the battery slot and properly store them if you do not plan to use the oximeter for a long period of time.
- Store the oximeter between 14° and 122° and at humidity levels 10% to 93%. F
Periodically check the oximeter for damage. - Check the accuracy of the oxygen aturation and pulse rate readings by using the appropriate calibration apparatus.
- Avoid using the oximeter in and environment with inflammable gases or using it in an environment where the temperature or humidity is excessively high or low.
Device Reissue
- If this is a replacement device sent to an existing patient, there are no additional steps to connect it to the Gateway.
- The only way to reset the Tenovi Pulse Oximeter is to remove the batteries, then reinstall the batteries.
- The Tenovi Pulse Oximeter is compatible with Gateway firmware 1.4.66 and later. Using a Gateway with an earlier firmware version may cause connectivity problems.


Downloads
Sources
- National Institutes of Health. (2023). Getting an accurate read on pulse oximeters. MedlinePlus Magazine:
https://magazine.medlineplus.gov/article/getting-an-accurate-read-on-pulse-oximeters