


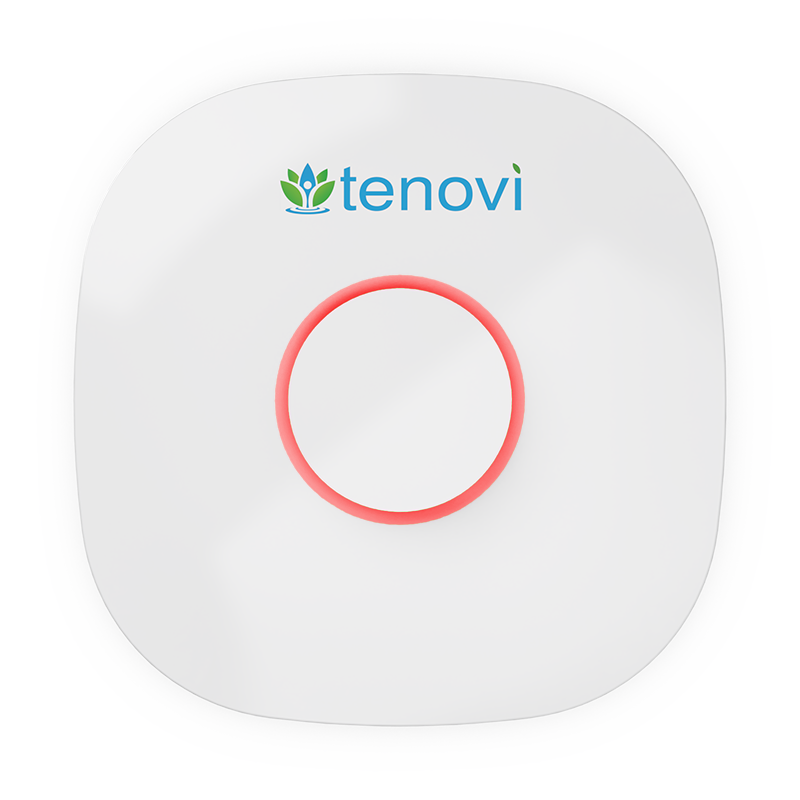
Tenovi Gateway Gen 1
Need help with your Tenovi Gateway? By continuing below you will understand how the Tenovi Gateway functions and communicates with Bluetooth-enabled Devices.
Jump To SectionTop Tips for Successful Measurement
Power Your Tenovi Gateway
Make sure your Tenovi Gateway is receiving power before taking a measurement with a Bluetooth device we support.
- Gateway is plugged in using the provided power supply adapter. Do not use any other power supply.
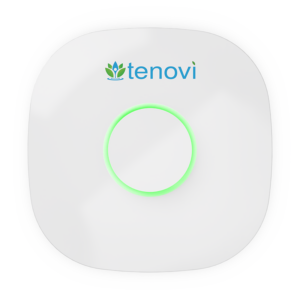
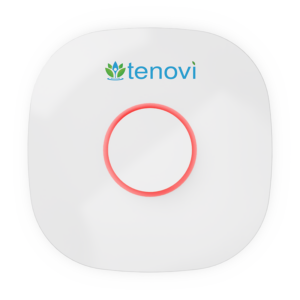
- The Gateway has a solid RED or GREEN LED ring light on the the top of the Gateway.

Where is the Tenovi Gateway ID?
The Tenovi Gateway ID is located on the back side, next to the port where the power cable plugs in to the Tenovi Gateway.

How to Identify Gen 1 vs Gen 2 Models
- Location of Gateway ID Sticker: Gen 1 models have the Gateway ID sticker on the back side of the device. Gen 2 models have the Gateway ID Sticker on the bottom side of the device.
- Physical Attributes: The Gen 2 model is flatter and slimmer than the Gen 1 model. The logo does not include the lotus symbol on the Gen 2 model.
- Gateway LEDs: The Gen 2 model has additional LED lights on the back side of the device near the power cable port.
- If you have a Tenovi Gen 2 Gateway, click here.
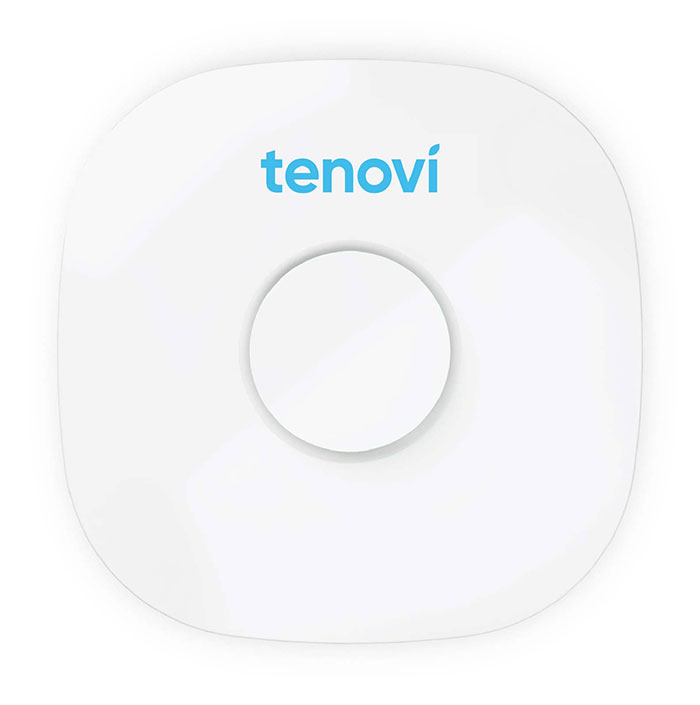
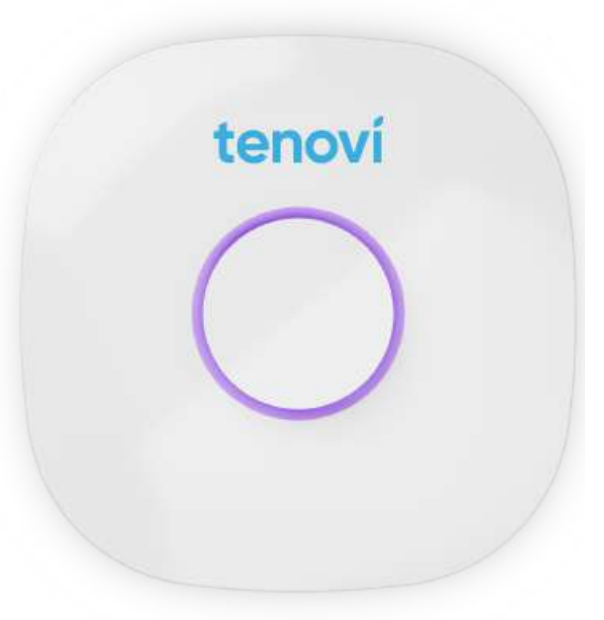
Tenovi Gateway Gen 1:

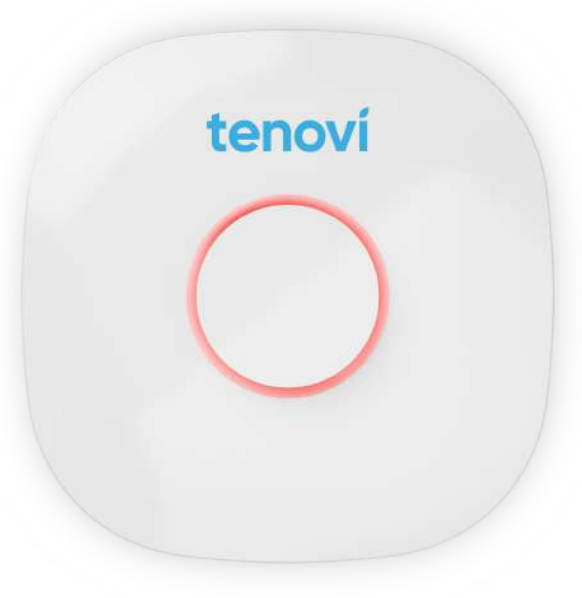
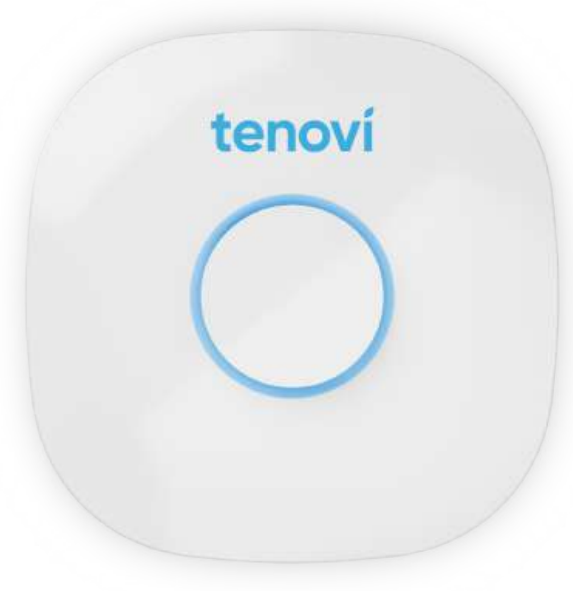
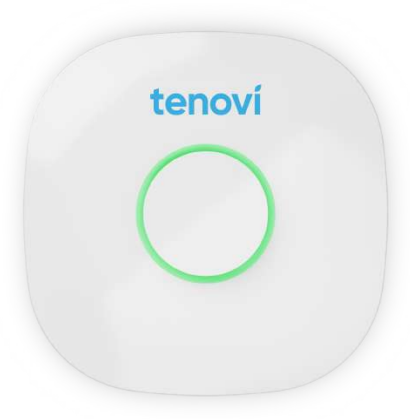
When Taking a Measurement
Before You Take A Measurement
- Make sure the LED ring on the top of the Gateway is solid RED or GREEN.
- A slow blinking LED ring indicates that the Gateway has not found a cellular network to connect to.
- Measurements taken while the Gateway is in this state may be delayed in transmission.
Taking A Measurement
- Depending on the device(s) you use, the Gateway will spin yellow during or after you take a measurement.
- After a successful measurement is taken while within 20 feet of the Gateway, the Gateway will beep and the LED ring will turn GREEN. This indicates you have taken a measurement and it has been successfully transmitted to your care provider.
Device Specifics
Bonding Devices to the Gateway
Certain devices have a pairing step that must be completed before the Gateway can connect and transmit measurements. Please refer to your device’s specific support page on our Support Center for more details.
Estimated Readings
For devices that have the ability to store historical measurements, whenever the clock on the device is reset (such as when batteries are removed), the device defaults to the preset time. So when a measurement is sent to the Gateway and the device has a different time than the Gateway, the reading may come in as estimated on the Tenovi Web App. Please refer to your device’s specific support page on our Support Center for more details.
Device Reissue
- Certain devices have a additional steps that must be completed before the Gateway can connect and transmit measurements. Please refer to your device’s specific support page on our Support Center for more details.
- See our Device Reissue Guide below.
Error Codes
The Tenovi Gateway does not display any letter error codes. For specific device error codes, please refer to the Support Center to find your device’s dedicated support page.